
- First Steps Checklist
-
Frequently Asked Questions

-
All About Features
- How to Install the Tracking Code
-
User Guides
-
Integrating With Other Platforms
-
Legal, Data Privacy & Certificates
- TWAIA Addendum
- White Label Analytics
- Glossary
- Contact
How to Install TWIPLA on any HTML-website
- Manual Installation of the Tracking Code
- New Users
- Create Your Account
- Verify Your Email Address
- Confirm Your Email Address
- Insert Your Website URL
- Complete Your Personal Details
- Select Your Privacy Preference
- Share Your Business Information
- Adjust Notification Options
- Generating the Website's Tracking Codes
- Manual Tracking Code Installation
- Installation Complete
- Explore the Main Dashboards
- Tracking Code Status
- Existing Users
- Troubleshooting Guide
- Frequently Asked Questions about Using TWIPLA on Any HTML Website (FAQ)
- Support for Installation and Using TWIPLA on any HTML Website
Manual Installation of the Tracking Code
It only takes a few minutes to install TWIPLA on your own website. Once installed, you will be able to get a clear grasp of your website traffic!
Note that the design or the process presented in the video is only informative oriented and it might be out of date. Make sure you follow the installation steps mentioned below accordingly.
Here are our installation steps for:
New Users

Create Your Account
1. Register for a new account here. Enter your email address and create your account password. Tick the box to agree to the Terms of Use & Data Protection Agreement and click Sign Up for Free.
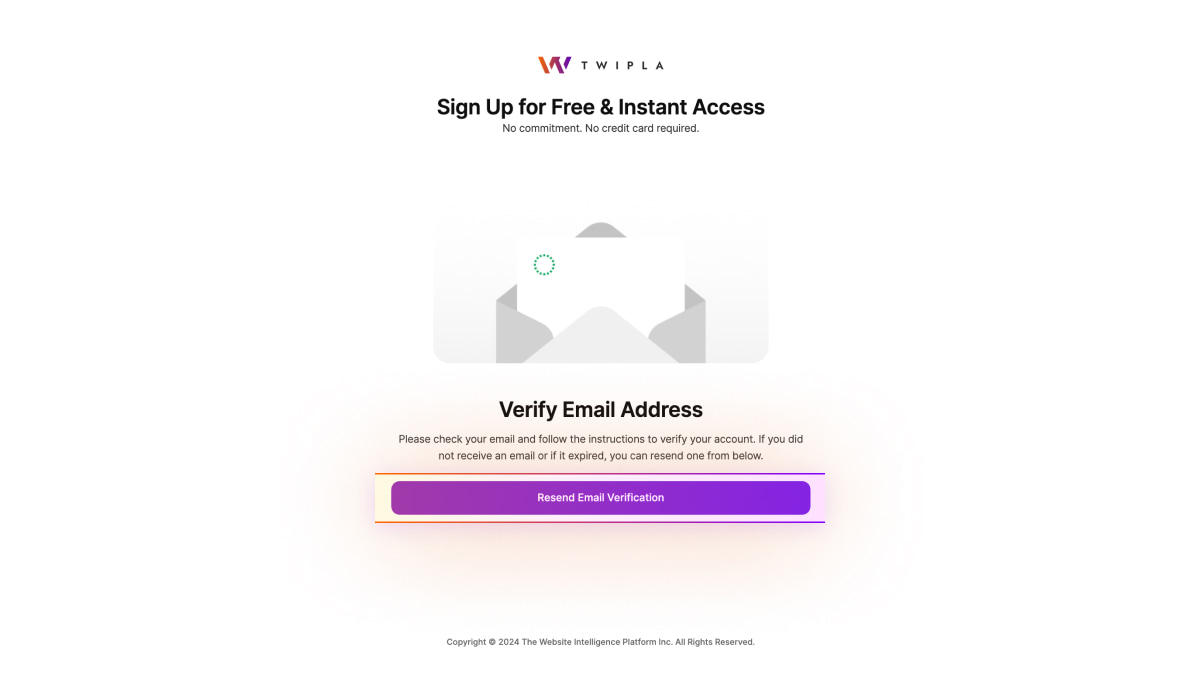
Verify Your Email Address
2. Go to your registered email and look for a verification email. Check your Spam or Junk folders if it did not arrive in your Inbox. If you did not receive one or if it expired, click Resend Email Verification to get a new verification email.
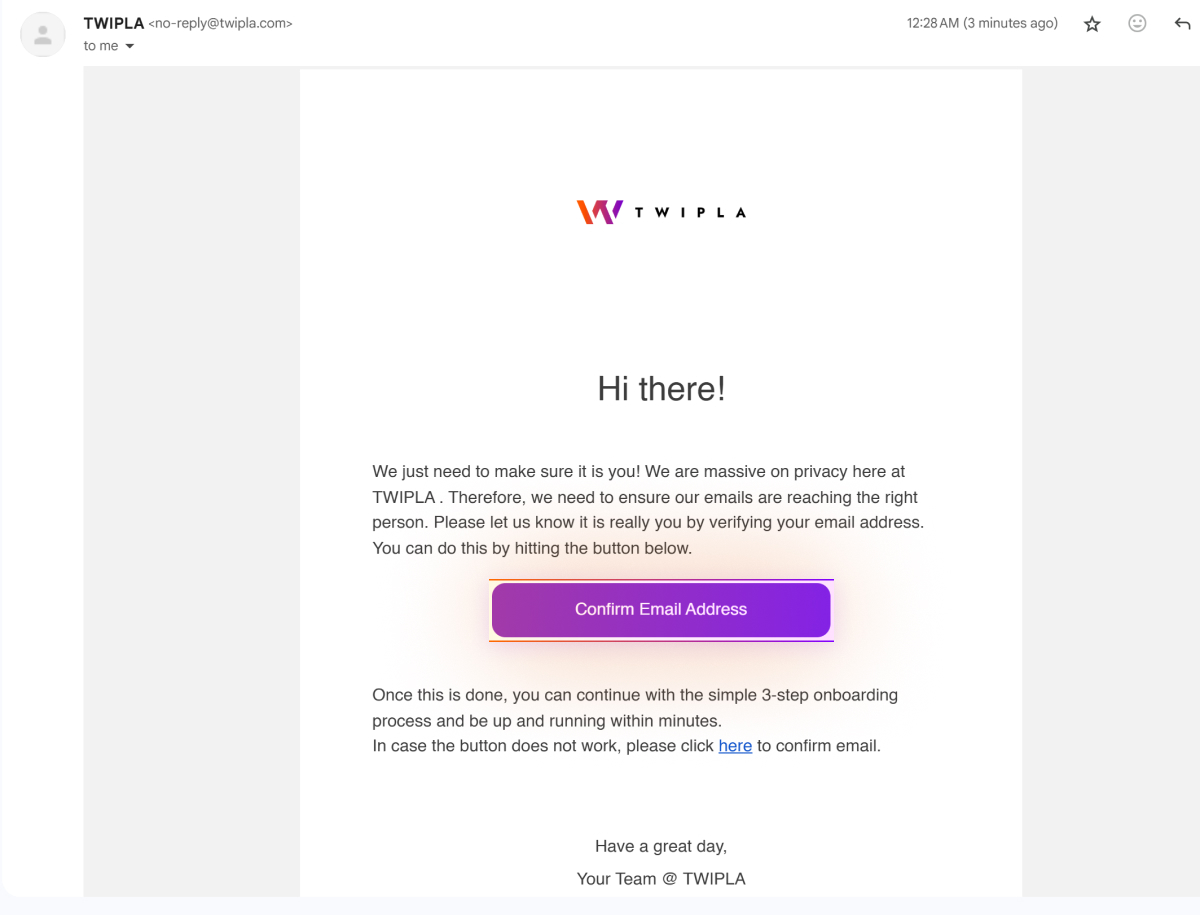
Confirm Your Email Address
3. Once you receive the verification email, click Confirm Email Address to verify your email address. If the button doesn't work, click the alternative link.
Note: Be sure to click the Confirm Email Address button within 10 days to verify your account, as the account will be (temporarily) deactivated otherwise.
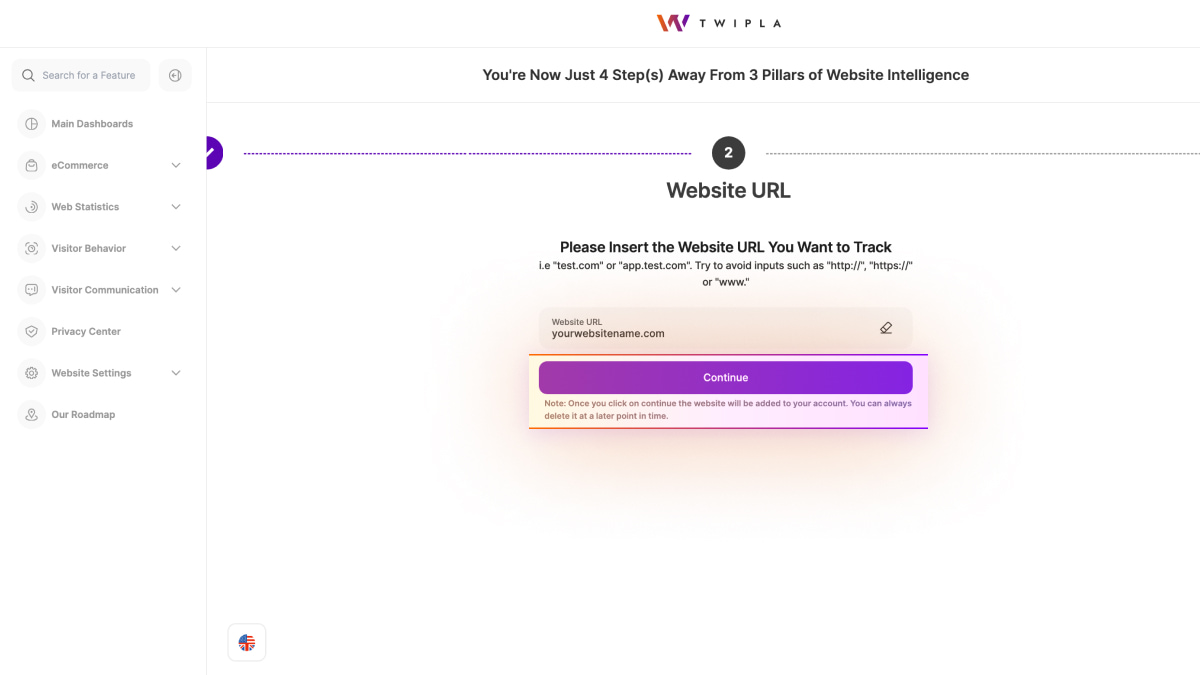
Insert Your Website URL
4. After verification, you will be redirected to the TWIPLA platform. The next step is to insert the website's URL you want to track data for and click "Continue." For accuracy, we recommend copying the URL directly from your browser's address bar. Please copy the URL starting from "www" and omit the protocol (HTTP/HTTPS). This approach helps ensure that the URL is complete and correct.

Complete Your Personal Details
5. Help us to improve and to address you in the best possible way: please give us your full name, tell us how you heard about us and choose your time zone.
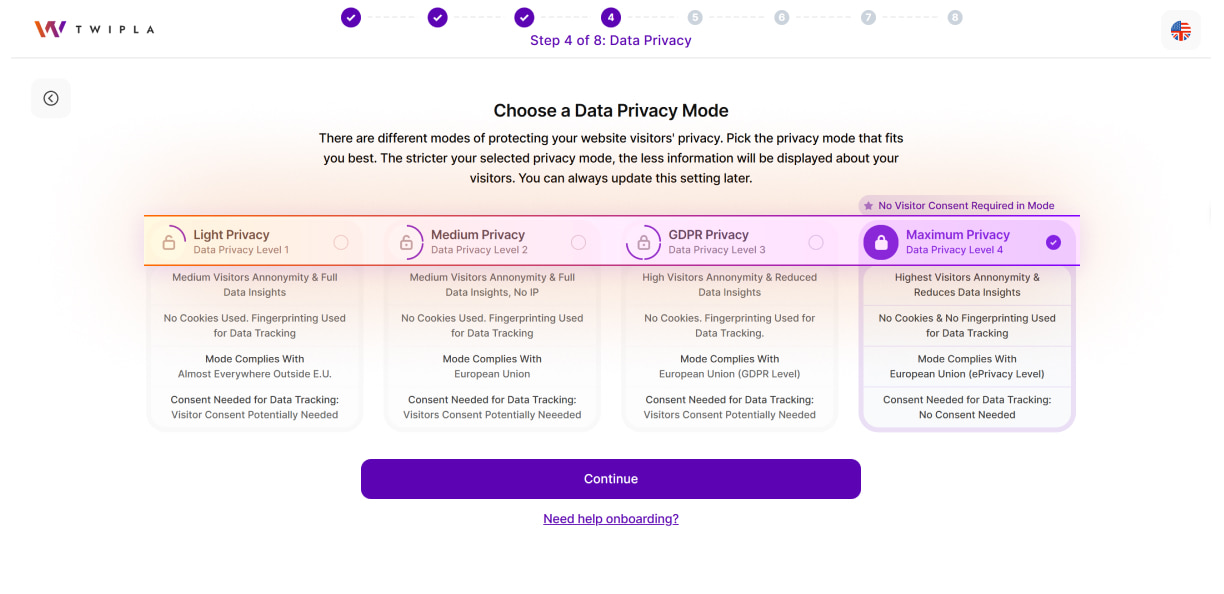
Select Your Privacy Preference
6. Select your preferred Data Privacy Mode for the website. By default, the Data Privacy Mode is set to Maximum Privacy. If you wish to deviate from the default setting, simply click on another of the data protection modes shown. You can change the data protection mode for a website at any time. As soon as you have decided on a mode, please click on Continue.

Share Your Business Information
7. This step is optional. Get access to new modules and more detailed statistics (e.g. a competitive comparison) by entering your company type, size, industry and company name. This data will of course remain confidential and will not be passed on to third parties!
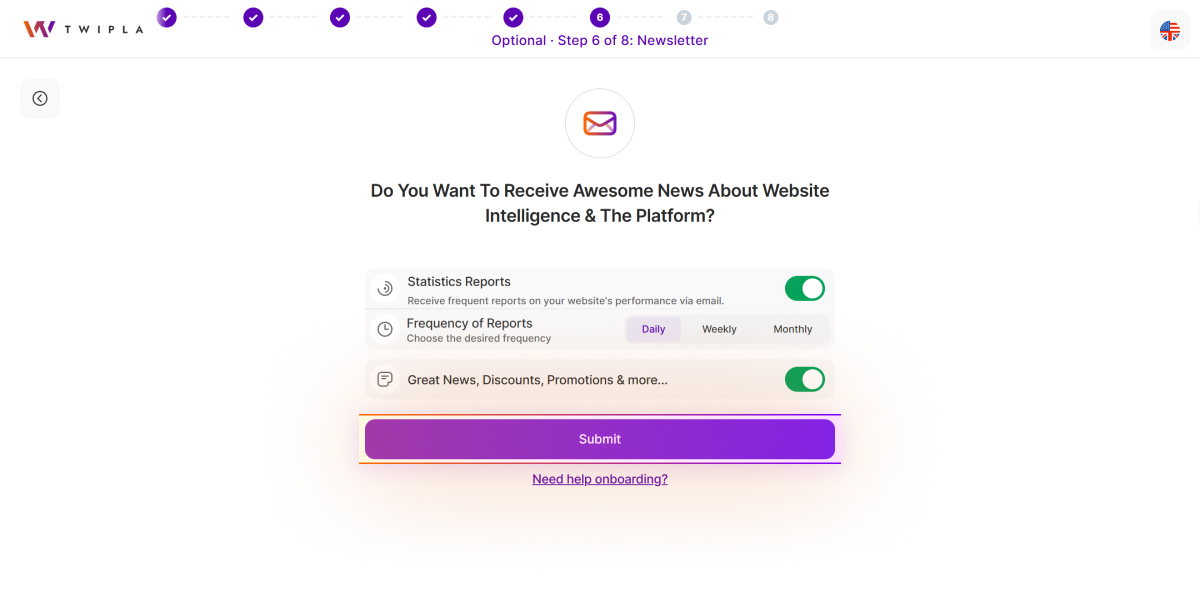
Adjust Notification Options
8. Set your notification preferences by choosing the types of notifications you want to receive. Enable each notification option by using the toggle button, then click Submit.
Generating the Website's Tracking Codes
9. Your website-specific tracking codes are currently being prepared. Please wait until the process is complete.
Manual Tracking Code Installation
10. TWIPLA requires a tracking snippet to collect data from your website. Choose between two integration methods: one integration method allows you to collect data without visitor consent. The other method requires visitor consent. Both methods collect 100% of your website data. Copy the desired tracking code and paste it before the final '</body>'-Tag of your website's source code. Don't forget to publish the changes. You can find further information on installing tracking codes here.

Installation Complete
11. After pasting the tracking code into your website's source code, click Verify Snippet Installation to confirm integration. Once successful, a message will pop up on the right of the screen saying, "The tracking code was successfully embedded!".
If you get the message, "The tracking code could not be found in the body section of your website's source!", check your website's source code to make sure that the tracking code was installed correctly.

Explore the Main Dashboards
12. Click Open Dashboard to access the Main Dashboards. You can visit your live website to verify the collection of website visits to the platform and reload the dashboard to see your initial statistics.
Stuck on onboarding? Just click the Need help onboarding? link at the bottom of the onboarding steps to chat with our Support Team.
Tracking Code Status
To verify the tracking code status, navigate to Website Settings > Tracking Code. The status 'Successfully Installed' should be displayed.
If you selected 'Install Tracking Code Later' during the onboarding process or require reinstallation, copy the code provided, paste it into your website's source code, and then click Verify Snippet Installation.
Existing Users

Add New Website
1. Sign in to your existing account here. Click on the drop-down menu in the top left corner and select Add new website.

Select Your Website Source
2. Choose the source of the website you would like to add. Select the third option "No, I Don't Use Any Platform From Above".

Add Your Website URL
3. Enter the URL of the website for which you want to collect data. For accuracy, we recommend copying the URL directly from your browser's address bar. Copy the URL starting from "www" and omit the protocol (HTTP/HTTPS). This approach helps ensure that the URL is complete and correct.
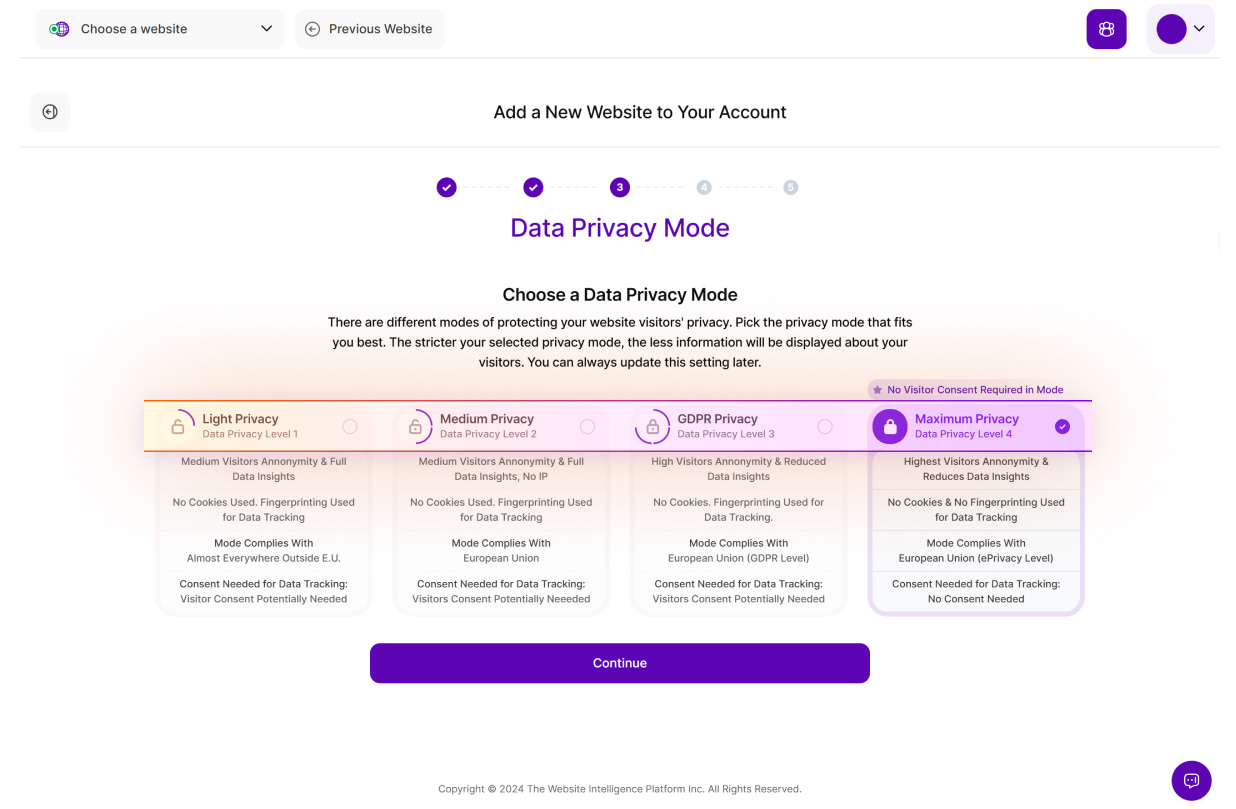
Set Your Privacy Preference
4. Select your preferred Data Privacy Mode for the website. By default, the Data Privacy Mode is set to Maximum Privacy. If you wish to deviate from the default setting, simply click on another of the data protection modes shown. You can change the data protection mode for a website at any time. As soon as you have decided on a mode, please click on Continue.
Generating the Website's Tracking Codes
5. Your website-specific tracking codes are currently being prepared. Please wait until the process is complete.
Install Tracking Code to Your Website
6. TWIPLA requires a tracking snippet to collect data from your website. Choose between two integration methods: one integration method allows you to collect data without visitor consent. The other method requires visitor consent. Both methods collect 100% of your website data. Copy the desired tracking code and paste it before the final '</body>'-Tag of your website's source code. Don't forget to publish the changes. You can find further information on installing tracking codes here.

Confirm Tracking Code Installation
7. To verify the tracking code status, navigate to Website Settings > Tracking Code. The status 'Successfully Installed' should be displayed.
If you selected 'Install Tracking Code Later' during the onboarding process or require reinstallation, copy the code provided, paste it into your website's source code, and then click Verify Snippet Installation.

Installation Complete
8. You're all set! Installation is now completed. Click Open Dashboard to access the Main Dashboards. You can visit your live website to verify the collection of website visits to the platform and reload the dashboard to see your initial statistics.
Troubleshooting Guide
If your website builder only allows installation of the tracking code in the header and it does not work, it's likely due to the script executing before the Document Object Model (DOM) is fully loaded. This can result in an error like 'Uncaught TypeError: b is undefined.' To resolve this issue, you can place the script in the header, but modify it to run after the DOM has fully loaded.
Here's a code snippet that accomplishes this:
<script> document.addEventListener("DOMContentLoaded", function () { (function (v, i, s, a, t) { v[t] = v[t] || function () { (v[t].v = v[t].v || []).push(arguments); }; if (!v._visaSettings) { v._visaSettings = {}; } v._visaSettings[a] = { v: '1.0', s: a, a: '1', t: t }; var b = i.getElementsByTagName('body')[0]; var p = i.createElement('script'); p.defer = 1; p.async = 1; p.src = s + '?s=' + a; b.appendChild(p); })(window, document, '//app-worker.visitor-analytics.io/main.js', 'INSERT-HERE-YOUR-WEBSITE-ID', 'va'); }); </script>
Important: Replace 'INSERT-HERE-YOUR-WEBSITE-ID' with your actual website ID.
This code ensures that the script runs only after the DOM is ready, preventing the error. However, for most websites, it's often recommended to add scripts to the bottom of the body, as this approach typically avoids such issues altogether.
Frequently Asked Questions about Using TWIPLA on Any HTML Website (FAQ)
Please see our detailed Standalone App FAQs here.
Support for Installation and Using TWIPLA on any HTML Website
If you encounter any issues during installation, you can reach us through:
- Email: Send us a message at support@twipla.com.
- Chat Bubble: Use the chat bubble available on our website.
- In-App Support: Access support directly within the platform.
For additional details, please visit our Contact Us page. We are committed to ensuring a smooth and seamless experience with our plugin!